Roasted garlic adds beautifully fragrant, naturally sweet, complex flavors to everything from mashed potatoes to meatballs and it is incredibly easy to make and store right in your own kitchen.
Let’s get started…

You can roast 1 bulb of garlic or many bulbs depending on how much you need. I usually roast 4 bulbs at a time. The leftovers can be stored in the refrigerator for up to 2 weeks or frozen for up to 3 months, so while you’re roasted garlic, you might as well roast a couple of extra bulbs for future recipes.

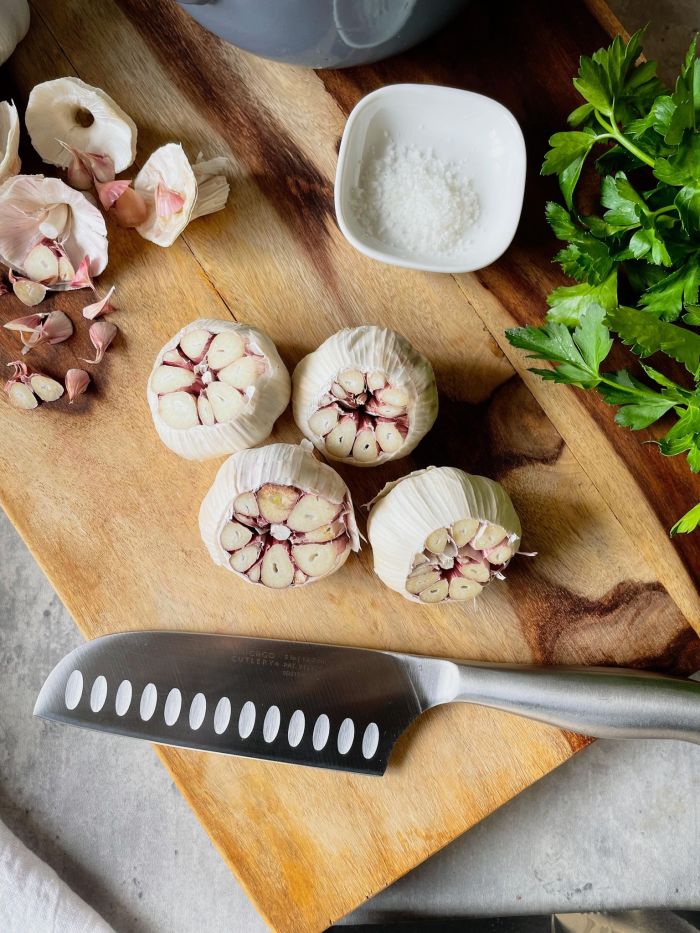
Begin by gathering your garlic bulbs, some olive oil, sea salt and a sheet of foil. Start by preheating your oven to 350 degrees and then thinly slice the tops off of your garlic bulbs. You typically only need to cut about 1/4″ off.

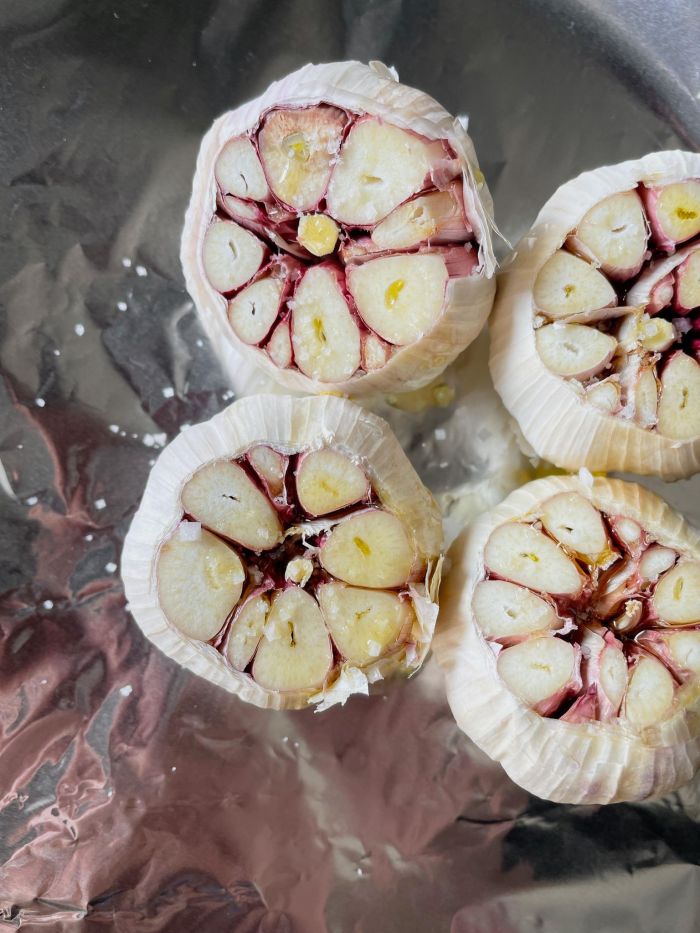
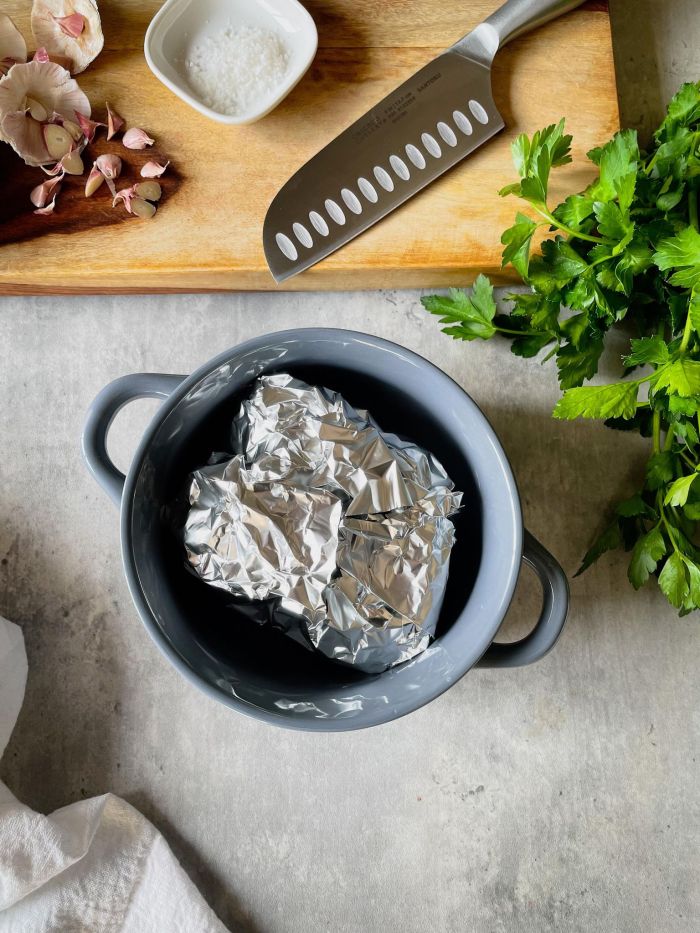
Drizzle each bulb with about a teaspoon of olive oil and then sprinkle some sea salt over each one. Set your garlic bulbs onto a sheet of foil with their tops up. Bring the sides of the foil up and wrap the bulbs up tightly.

You want to keep their tops up while they roast, so I set the wrapped bulbs into a small baking dish and then transfer them onto the middle rack of a 350 degree oven.
Roast the bulbs until they are golden brown and tender. For average sized bulbs, this will take 45-50 minutes, but if your bulbs are really big, they may take a little longer.

This is the color you are looking for and these rich, deep golden brown cloves are going to be absolutely delicious. You will notice that some of the cloves have begun to lift out of the bulb as they roast to perfection and this shows just how easily they are going to pop right out…

If you are going to use the roasted garlic cloves right away, I suggest simply flipping the bulb cut side down and squeezing the roasted cloves out. If you want to store the cloves for future use, you may want to keep them whole. To remove whole cloves, simple peel back the outer layers and slide your finger or a small spoon under the cloves and pop them out into a small dish or jar.

If you are planning on using the cloves within 2 weeks, transfer them into an airtight container, cover them with olive oil and transfer them into the refrigerator.
If you need to keep them a little longer, place the cloves onto a sheet of parchment paper and place them into the freezer. Once they have frozen solid, transfer them into a bag and return them to the freezer. They will keep well for up to 3 months. Simply set the cloves you need out for to defrost when you need them.

Roasted garlic really adds so much flavor to so many dishes. I smash a few into my mashed potatoes, smash a few into marinades, smash a few into some butter to make amazing garlic bread… so many delicious possibilities….
Roasted Garlic
Ingredients
- whole bulbs of garlic
- olive oil
- sea salt
Instructions
- Preheat your oven to 350 degrees
- Use a sharp knife to cut the top off of the garlic bulb (see photos above)
- Place the garlic bulb or bulbs onto a sheet of foil cut side up
- Drizzle the top of each bulb with olive oil (approximately 1 teaspoon per whole bulb) and sprinkle with sea salt
- Wrap the foil around the garlic to complete enclose it
- Roast the garlic for 45-50 minutes or until the cloves are golden brown and tender
- Transfer the roasted garlic out of the oven and allow it to cool slightly
- Carefully flip the garlic cut side down and gently squeeze the roasted garlic cloves into a dish
- Store leftover roasted garlic in an airtight container completely covered with olive oil in the refrigerator or freeze individual cloves on parchment paper and then transfer into a bag and freeze for up to 3 months


